- Basics of Manual photography
- Tips and tricks
- and much more
Introduction
Hey guys my name is Aryan although I am just 12 years now , I hold a keen interest for photography. In photography ,I mainly do wildlife photography. In this blog the ways I have showed for changing the settings on the camera only for Nikon D5300 model , its almost the same for all Nikon cameras (except Nikon Z mirror-less series)
Types of cameras
In today’s world we have 3 types of cameras
- Point and shoot
- Bridge
- Dslr
- Mirrorless Dslr
Point and shoot cameras
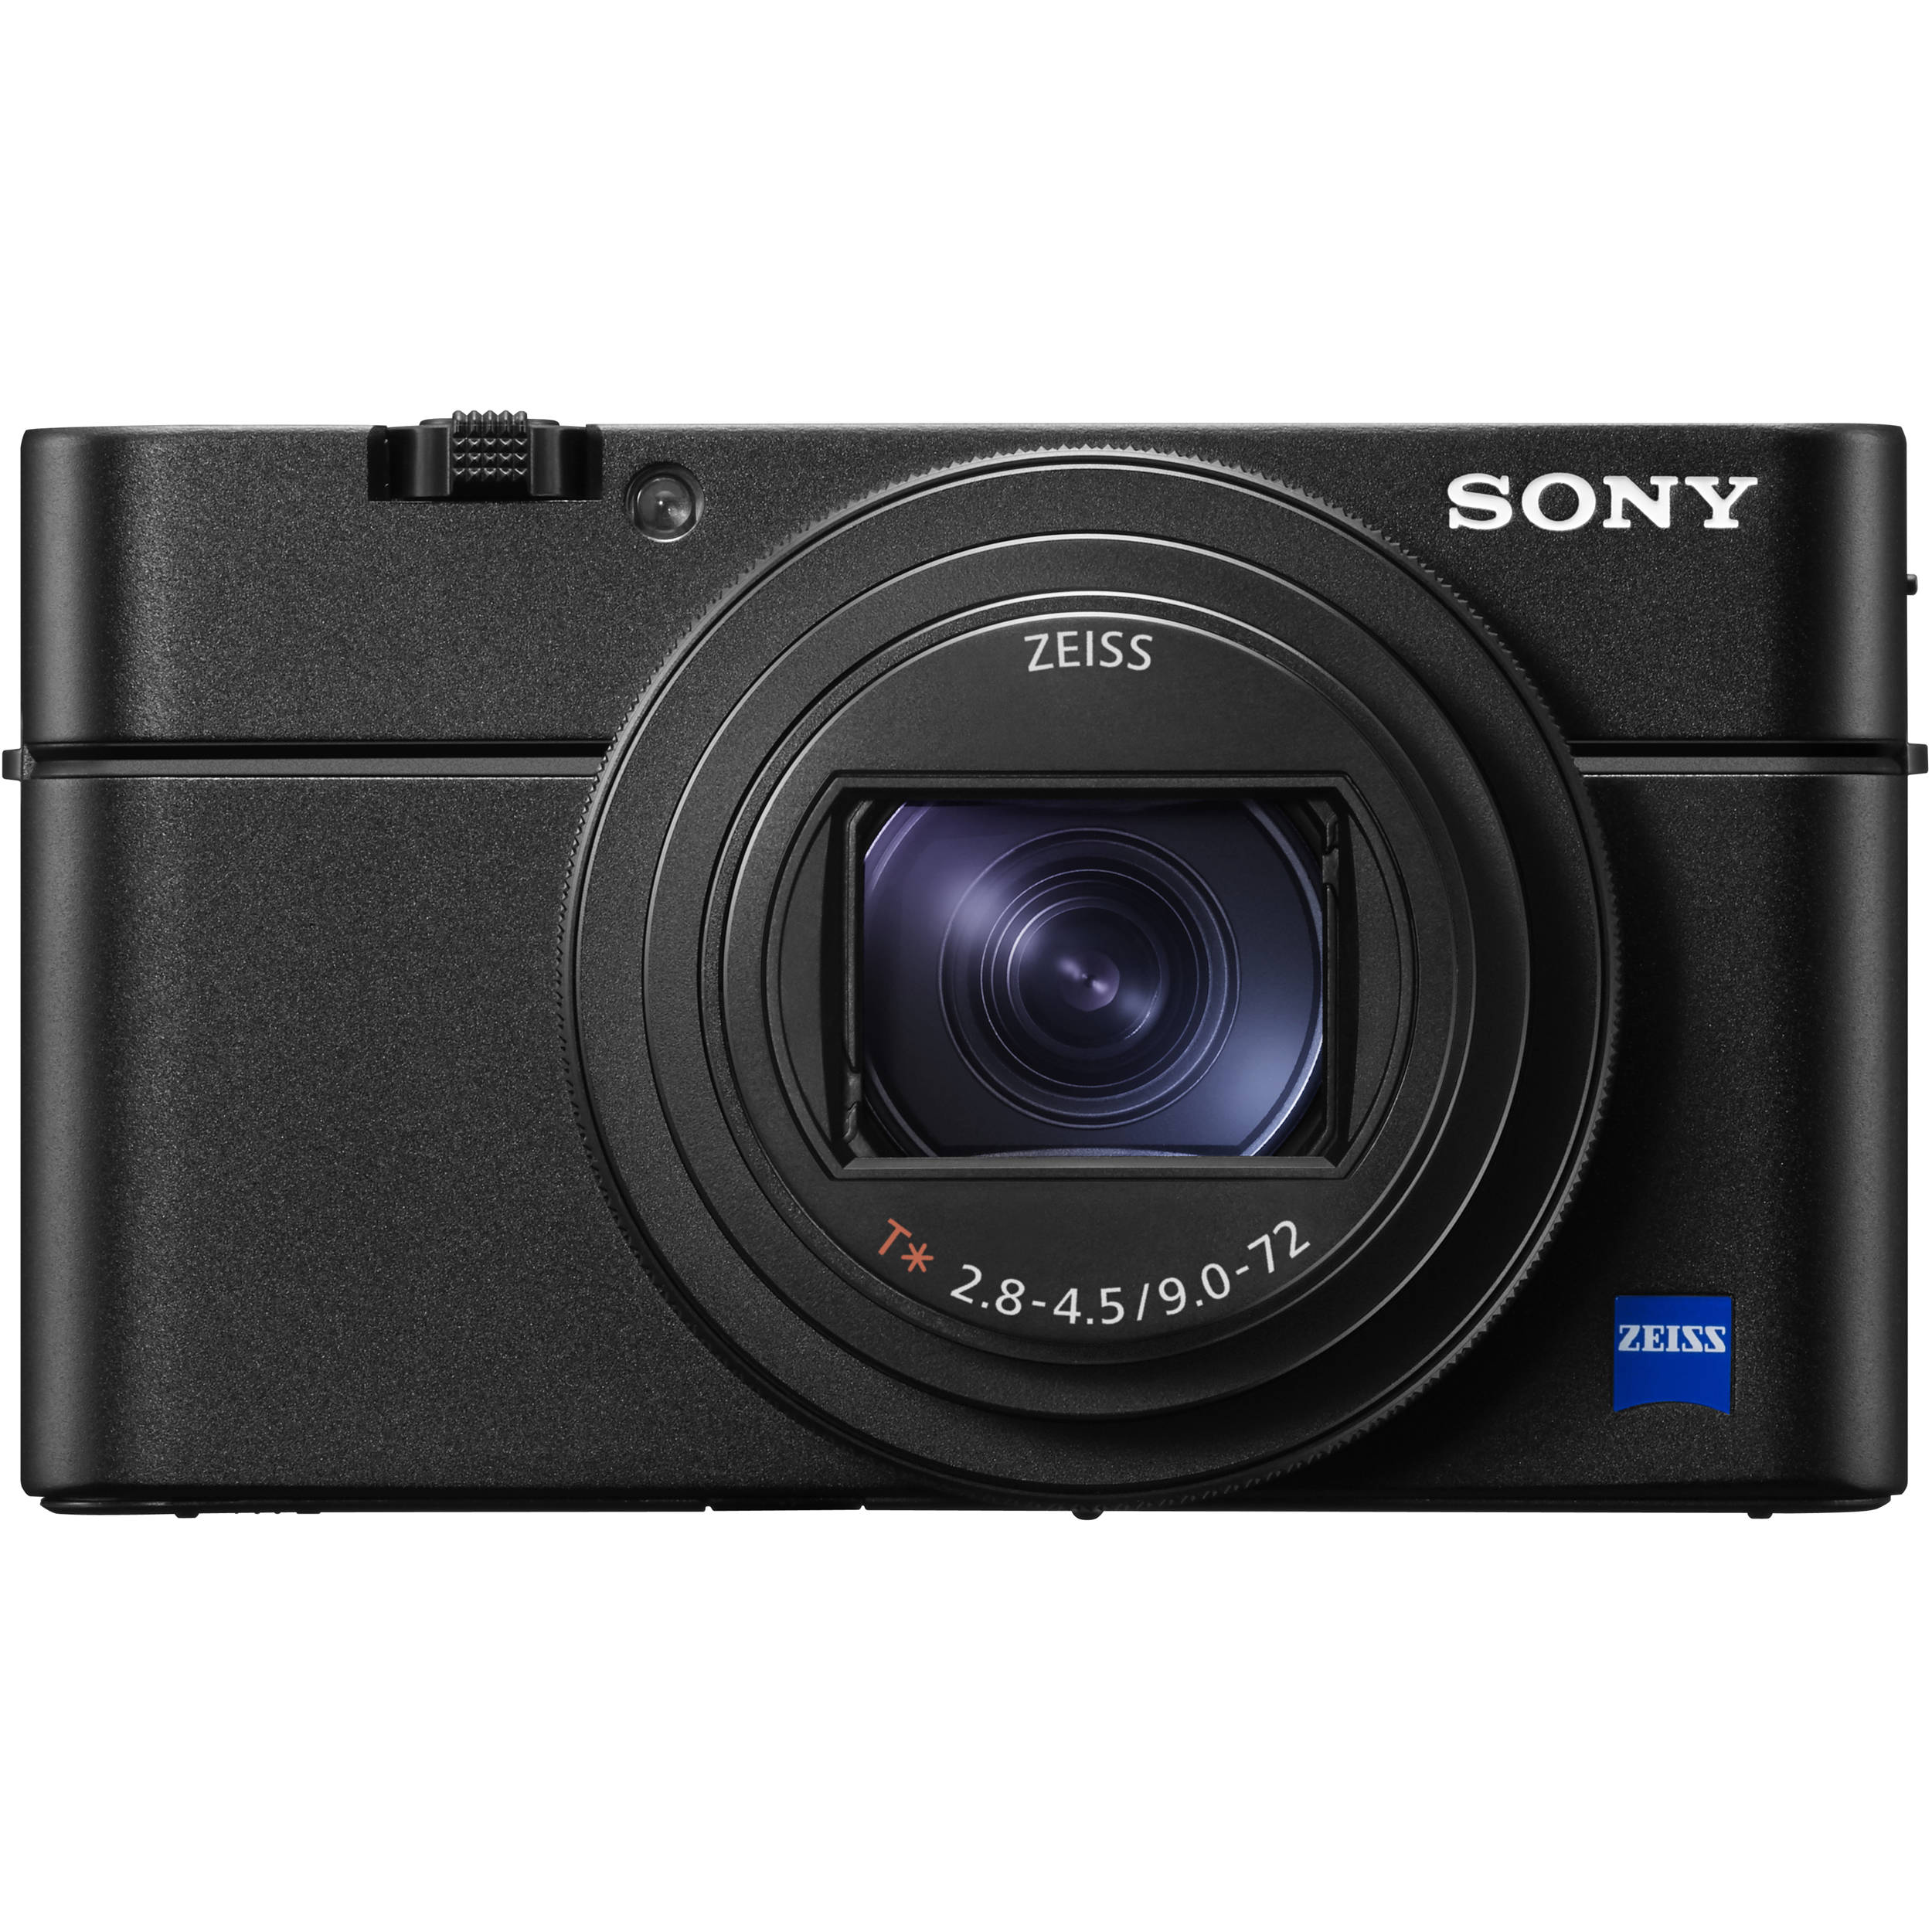
A Sony point and shoot camera
These cameras can fit in your pocket and these cameras are mainly sold by the company Sony. We all might have these cameras as these cameras came not very recently. This camera gets its name as point and shoot becuse you just have to point shoot . In this camera you cannot change its settings like aperture , iso , shutterspeed .These settings I will explain later . Nowaday’s people don’t buy these cameras because of camera phones. Why buy a point and shoot when you have camera phone ?? This why these point and shoot cameras are barely there in the market.
Bridge cameras
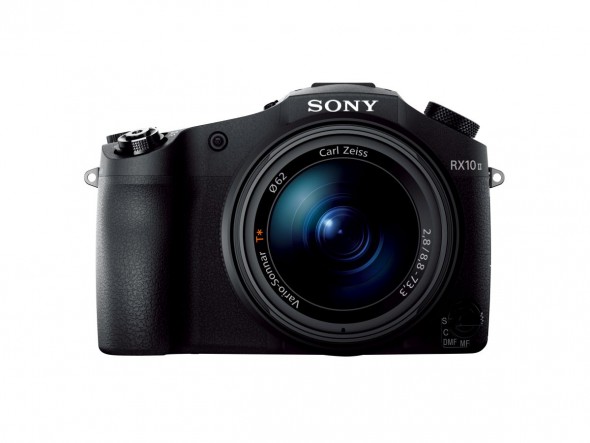
A Sony bridge camera
Bridge cameras are just like mini dslr’s because they are smaller in size . This camera has almost all the features a dslr has , but you cannot change its lens. Luckily these cameras are still there in the market .
Dslr’s

Nikon D5300 , probably the best entry level camera ever made .
Finally Dslr’s ………….. Dslr’s are the main topic we are going to discuss today .Dslr cameras work with a mechanism called the mirror mechanism , we will discuss about this after Mirror less cameras . Dslr are main type of cameras sold today.
Mirror less cameras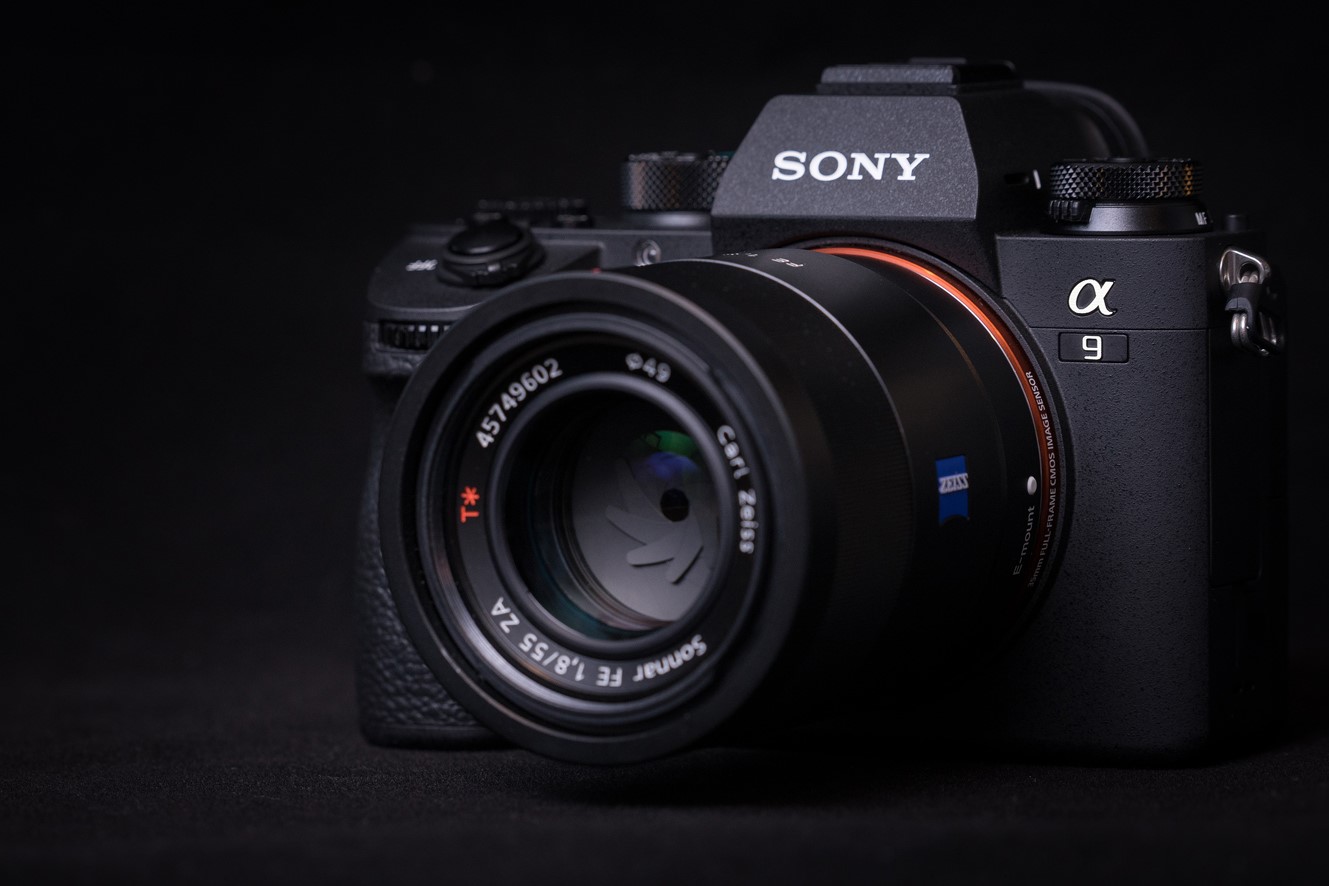
Sony a9 one of the best mirror less cameras ever made
This is the latest technology in the digital photography . Like I told you people that dslr’s work on a mechanism called the mirror mechanism , this type camera does not work on the same mechanism . We wil not look into these cameras as dslr’s are our main priority today.
Basics of a DSLR
- mirror mechanism
- aperture
- shutter speed
- iso
- types of modes
- Depth of field
- focus points
The mirror mechanism
The sun throws light on earth . Almost every object we see reflects the light of the sun to our eyes and hence we can see . Every lens has a hole through which light enters the camera . Before I explain you this mechanism let me tell you some basics to understand this . Just blindly read these lines that follow until Mirror mechanism explained.
View finder
view finder is the hole above the screen through which we see the object in front of us .
Shutter
shutter is like curtain which opens and closes to allow light to go to the sensor/ flim
Sensor/flim
The sensor senses the light and process it and then we see it on our screen .
Camera body
What ever is left after you remove the lens is called the camera body .
Pixels
Pixels are minute lights that make up your picture.these are there in many variations like 24 megapixel camera, that means there are 24 million pixels in the camera sensor.
Mirror mechanism EXPLAINED
Every camera lens has a hole through which the light enters the camera body , light changes direction when it is blocked , so when some light is not allowed to pass through the hole it changes its direction like the example below , it becomes an inverted image.
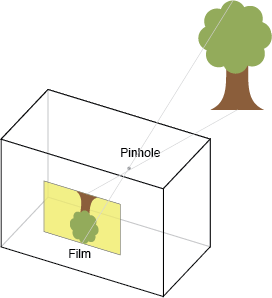
Image above- Example of how light changes its path when it is blocked (blocked meaning not completely blocked)
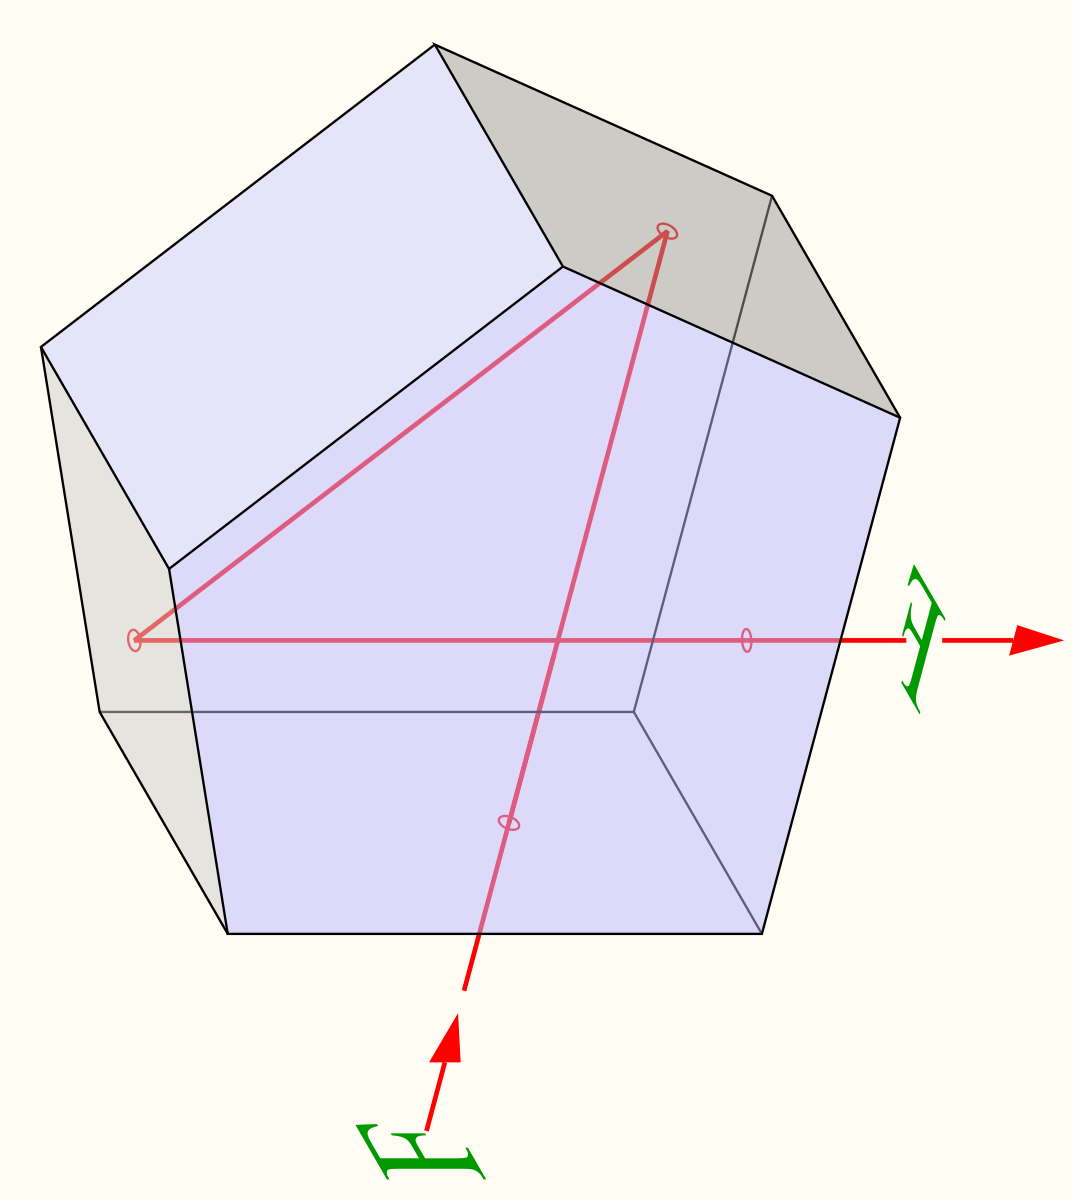
Since this is called the mirror mechanism there has to be a mirror involved. So when the light hits the first the mirror the light goes up . The light goes up because the mirror is at 45 degree angle. so when it goes it meets the second mirror which is a type of mirror called the pentaprism . Here below is how the light travels through a pentaprism . The pentaprism is needed so that we can see through the medium sized hole above the camera screen which is called the view finder . Now how does the camera take pictures ?? If look you at the diagram below the heading (Mirror mechanism explained) , you will see that behind the first mirror there are two things , the shutter and film/sensor . When you take a picture through your dslr the first mirror will go up another 45 degree making a 90 degrees and allow the light to pass straight and then the shutter opens up and allow the light to hit the film/sensor and the light gets processed and the we see it as a picture. And here we finish Mirror mechanism .
Control buttons on your d5300

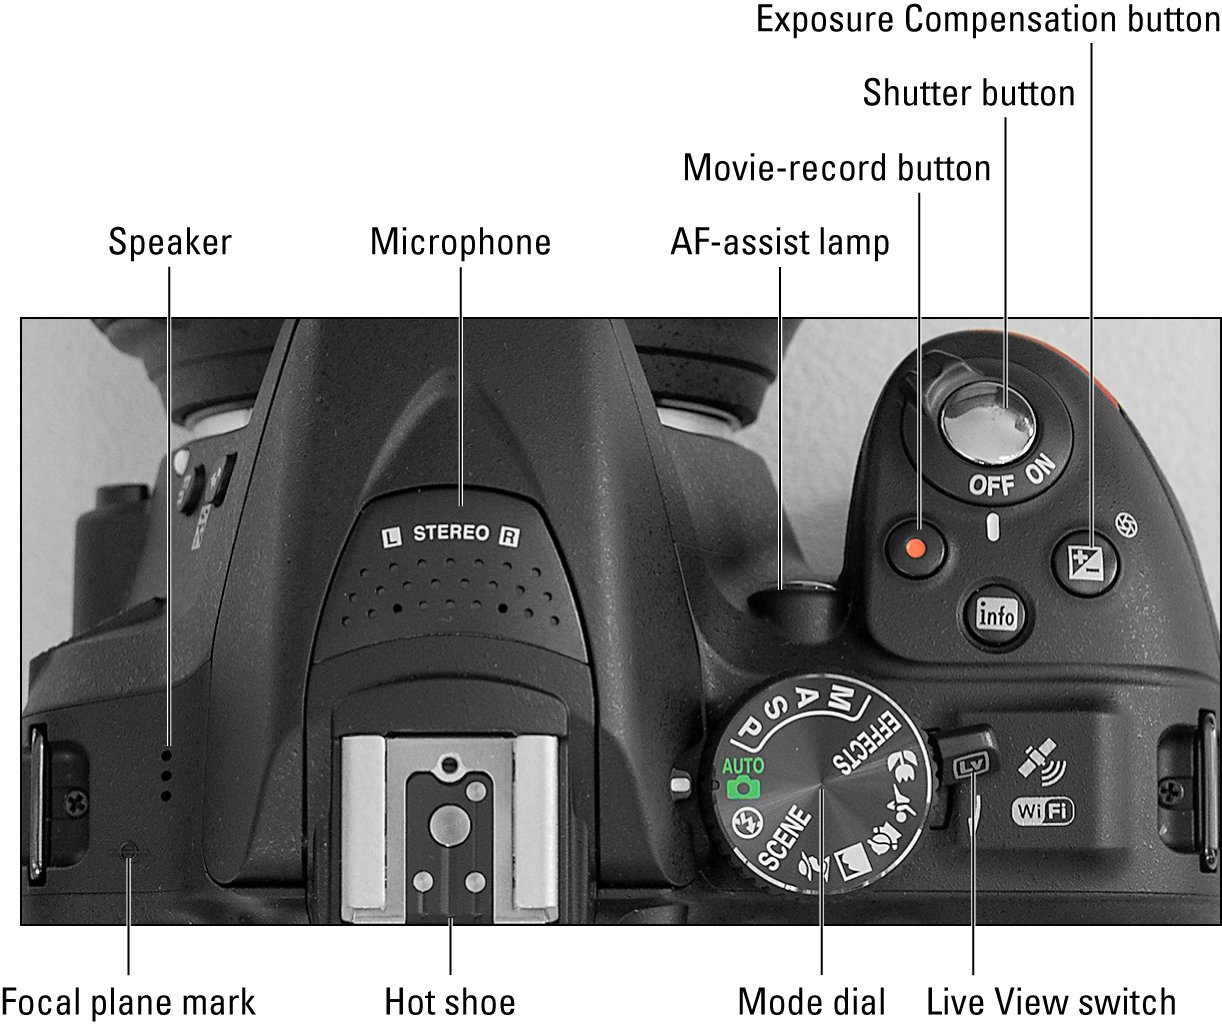

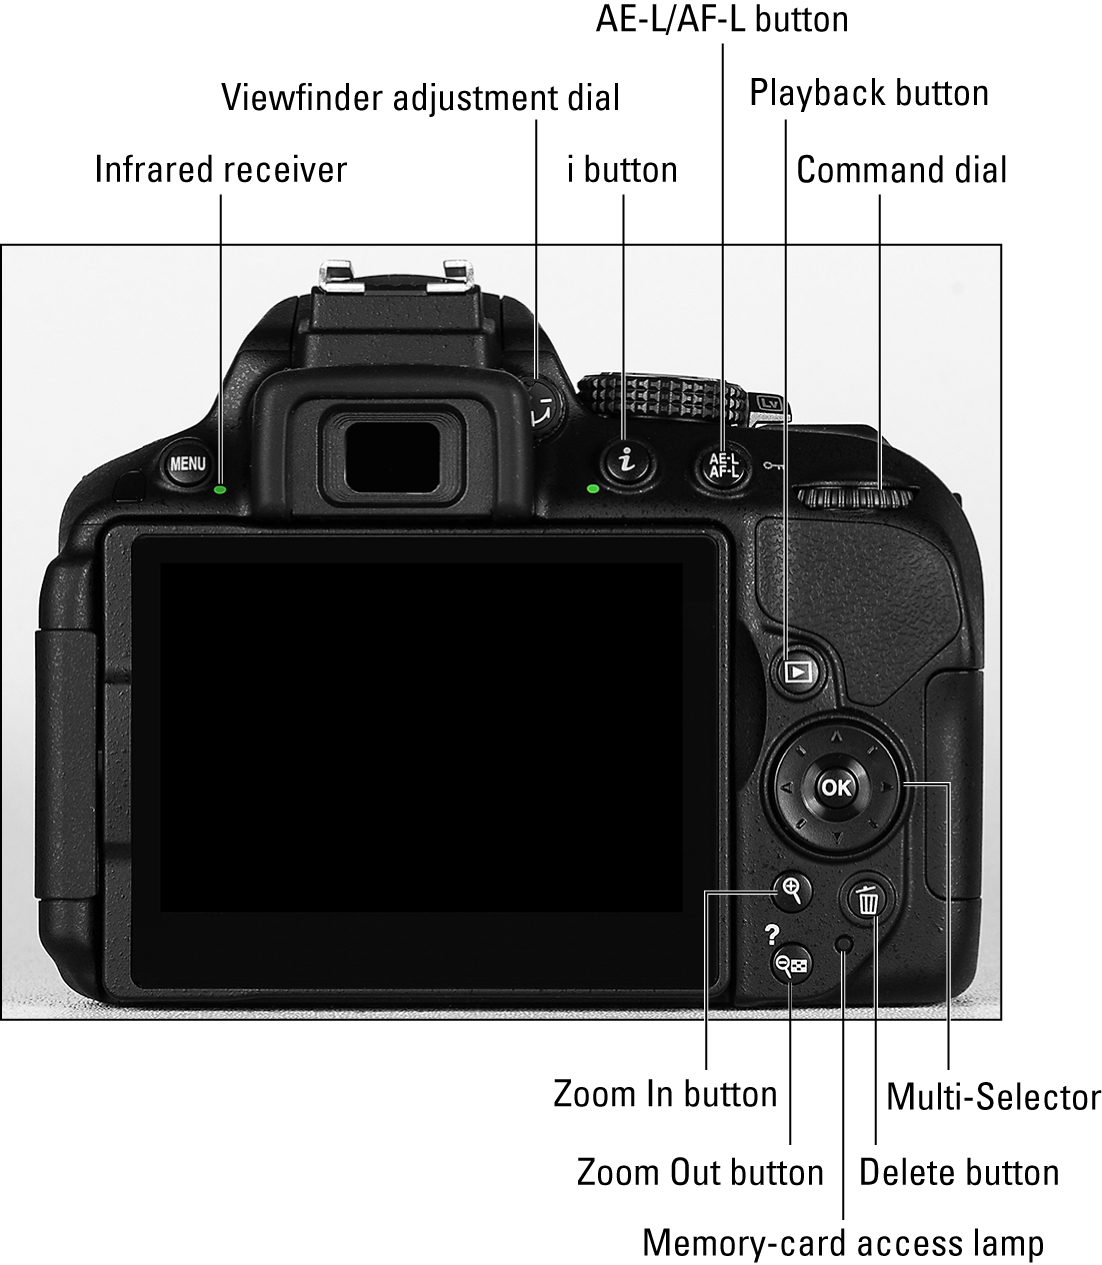
I would like you to know all of these buttons . JUST KNOW THEM ITS NOT NESCESSARY TO LEARN THEM.
Elements of Exposure
There are three elements of exposure-
- Aperture
- Shutter speed
- ISO
Aperture
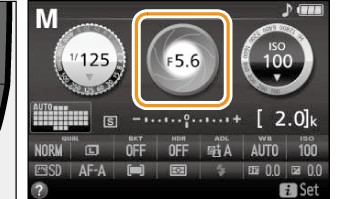
Aperture is the hole through which light enters the camera . You can control this through the camera . The more wide you open it you allow more light to enter the camera . Plus the more wide you open it the more the background goes blur which makes the subject or the person or thing you focused onto looks better. Whatever it maybe you are supposed to keep it the widest you can to emphasise on the subject .The wideness of the aperture also depends on the zoom ,the more you zoom the smaller the aperture in size .In the camera aperture settings will be in the centre of the screen . It is denoted by f. x (x is for a random number) eg: f.5.6 . But don’t get confused by this because in the camera the smaller the number wider the aperture (eg: f.1.8 the widest aperture any camera lens can go) and hence greater the number smaller the aperture (eg: f.32 the least wide or smallest aperture any camera lens can go . Since there are 3 modes we are going to learn in this blog , I will teach you how to change this later. Here below is the display of the aperture on your camera. Aperture is located in the centre of the three circles below
Shutter Speed
Shutter speed is the speed you can give for the shutter to open and close . It is denoted by 1/x ( x stands for some random number )eg: 1/125 , 1/4000 , 1/8000 (1/8000 is the max shutter speed a camera can go but not on all cameras , in Nikon D5300 the max shutter speed is 1/4000) . It is always recommended to put your shutter speed to the highest you can in a very bright day light . It is denoted like 1/x because it is the time to close the shutter for example 1/100 or one hundredth of a second- that means that 1 second divided to 100 equal parts that one part of 1 second divided into 100 is the time the shutter takes to open and close ,which is extremely fast . The highest you can go in a Nikon D5300 is 1/4000 which is one four thousandth of a second , in higher models of the Nikon D series you can go to 1/8000 which is 1 eight thousandth of a second .You can also reduce the shutter speed to 30 seconds max [which means that the shutter takes 30 seconds to open and close which is quite slow]
ISO
ISO is the only thing to do with the sensor . ISO is the sensitivity of the sensor , if there is low light keeping a high ISO is recommended and in day light 100 – 400 should do . But there are some disadvantages of keeping a high ISO . Since the sensor is made of tiny pixels . So when you keep a high ISO , the battery gives extra power to the sensor making the pixels of the sensor burn , you can get a good image but there will be these small black dots on the picture . These black dots are the bio product of burning the pixels , these black dots are called noise.

Different types of modes-
- Manual mode
- Aperture priority (auto) mode
- Shutter priority (auto) mode
Manual mode
In manual mode you can control all three elements of exposure – ISO , Aperture and Shutter speed . To go to manual mode rotate the dial which has M , A , S , P one below the other and then turn the dial to M mode
here below are how to change the – ISO , Aperture and Shutter speed.
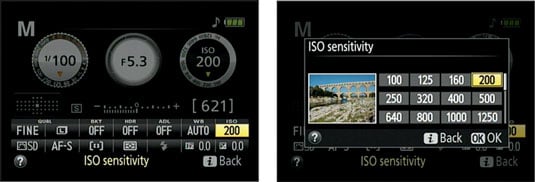
For changing ISO
follow the steps given in the picture

Step two : click on the i button on your camera , if you don’t where is the i button scroll up to the control buttons of D5300
Step three: After you do that one of the controls below on the screen will be in yellow some what like this below except in the first picture ISO is yellow , then use the multiselecter and go to ISO , Then press the ok button and then picture on the left will appear then according to your light select the ISO needed for you.
For changing shutter speed
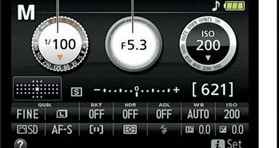
Step one : Rotate the command dial to change the shutter speed .
For changing aperture
Follow the steps shown in picture

Step one : press the button shown in the first picture and then rotate the command dial wich is shown in the second picture.
Aperture priority (auto)
In aperture priority auto you can only control aperture and iso. To go to Aperture priority rotate the same dial I told you when we were discussing manual mode , rotate the dial A on the dial.
For changing aperture
For changing the aperture just rotate the command dial
For changing ISO
You can change the ISO in aperture priority mode the same way you did in manual mode
Shutter priority (auto)
In shutter priority auto mode you can only change the shutter speed and iso. To go to shutter priority rotate the same dial I told you in aperture priority and manual mode, rotate that same dial to S .
For changing shutter speed
For changing shutter speed just rotate the command dial
For changing Aperture
For changing aperture look at the pictures that follow , first press and hold the button shown in the first picture , then rotate the command dial , Note : This is supposed to be done together.
Types of photography
Now since we have learnt how to change our camera settings, we will now move onto types of photography .
There are 6 types of photography –
–Landscape photography
–Wildlife photography
–Potrait photography
–Travel photography
–Astro photography
–General
Landscape Photography
As the name suggests this type of photography deals with taking pictures of landscapes . In
